Register at www.lympik.app with your email address, Facebook or Google.
That's it, all further steps are carried out on site during the ski test.
To add a chip (identification) to your profile, scan the QR code on the back of your NFC chip with your smartphone. You will then be redirected to our web app where you have registered in advance. After registration, the chip is assigned to your profile and you are ready to go.

If the scan with your mobile phone camera was not successful, navigate to app.lympik.com and log in there with email, Facebook or Google. Then click on the three dashes in the upper right corner to get to the menu. Click on "Identifications" and then on "Add chip".

You can now add the chip with your camera.
Once you have successfully added the chip to your profile, identify yourself at the start by holding your chip up to the timing device. The subsequent time is then personalised to you.

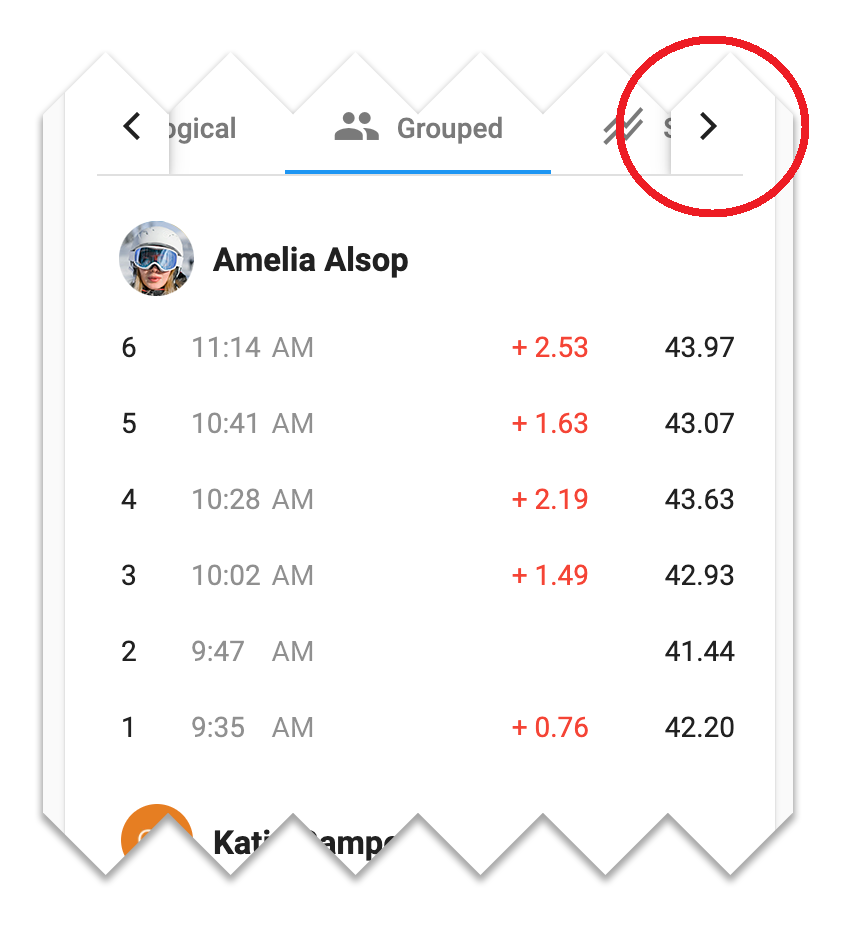
To view your times, enter the web app and click on "Activities" in the menu. There you will see all the activities you have participated in. To see your times, click on one of your activities. You will now see your times in chronological order. To switch between the evaluation modes (ranking, lap times, etc.) use the arrow keys.

By clicking on the pencil in the chronological view, you can add your skis, boots or other equipment at any time. This way you always have an overview of the equipment you have used.

If you want to analyse your runs even more precisely, then pick up our new Oculus GPS tracker at the Lympik Service Station.

To synchronise the data from your GPS tracker, visit us again at the Lympik service station. The data will automatically be added to your ride times and can be viewed in the web app. To do this, navigate with the arrow keys to the right until you see the tab "Movement data".
There you have the possibility to compare several runs and to analyse exactly where you gained or lost time.

